How To Survive The Rubicon Trail Your First Time
By Nena Barlow
This article originally appeared on fourwheeler.com.

“Sure, you can drive a stock Jeep through there—that’s what they’re made for!”
“I crossed the Rubicon on 31-inch tires and no lockers!”
“I did the whole trail in 8 hours!”
Mention the name “Rubicon Trail” in any four-wheeling forum and you are bound to hear some boasting, unsolicited advice, and tales of “back in my day…” However, that doesn’t answer your question: What do you really need to do the Rubicon Trail?
Regardless of your wheeling prowess and tire size, there are a few inarguable facts about the Rubicon Trail that you need to take to heart before you leave home:
It changes every day. Just because your buddy with a similar Jeep cruised through Little Sluice last week does not mean you will do so this week. Rocks move every day. Weather varies widely. Trees fall.
There are much tougher obstacles on other trails than you will encounter on the Rubicon Trail. The Rubicon beats you with stamina. It slowly wears you down one rock at a time, increasing the odds of making a bad decision due to mental and physical fatigue.
It’s narrow, it’s busy, and it’s dirty. Passing is difficult. Popular camping areas are loud on weekends. You will be scrubbing dirt out of yourself and your Jeep for days afterwards. Bottom line: Driving the trail isn’t the only challenge with which you will be dealing.
As for your Jeep, it should be in top-form maintenance. Parts and labor are significantly more difficult to acquire on the trail than at home. Steering component, motor mount, axle, and driveshaft failures are the most common breaks. Starting with good basic equipment is key.
It should have at least one locking axle differential. Both front and rear are better. Limited slip and traction control are not the same as a locker.
At least one frame-mounted recovery point (rated for 5000 pounds or more) should be mounted on each front and rear bumper. Yes, factory Wrangler hooks are sufficient, but while bumpers won’t make or break your ability to run the Rubicon Trail effectively, the odds of factory bumpers surviving the trail are slim to none. We call that an “unplanned upgrade opportunity.” You can choose whether to do it before or after the trip.
Factory skidplate protection for the transmission pan, transfer case, and gas tank are adequate on factory Wranglers, but we recommend protection beyond the minimum, especially on your gas tank and diff covers. If you really want to enjoy the trail and minimize stress, consider these aforementioned upgrades, as well as lower front control arm mount protection, 33 to 35-inch tires, and suspension upgrades to allow for those tires, real rocker guards or “sliders,” and better gearing.
Can a lesser vehicle make it? Yes, but it will take more time, with a higher risk of damage. That can create more stress than fun for you and anyone else on the trail that day (oops, some trail-etiquette preaching almost slipped in there). Do these upgrades now—not two or three weeks before your trip. The worst thing you can do is to install a bunch of new stuff on your rig right before the trip and use the Rubicon trail as the “shakedown” run.
The single most important piece of equipment to bring is your brain. Use it before, during, and after the trip. Degrade its proper functioning as little as possible while on the trip. No drinking and driving, wear your seatbelt, pack out your trash, and check on current fire and sanitation restrictions before you depart. Leave the trail for all to enjoy.

One of the most commonly smashed/broken components of the Jeep Wrangler is the lower front control arm mount. Adding a lower control arm skid is an inexpensive way to eliminate the problem. Parts are less than $50 and pay a professional 4x4 welder an hour’s time to install them.

Your tire sidewalls and wheels will get “scrubbed” throughout the trail. Three-ply sidewalls with healthy tread are a must, as is a full-size working spare. A minimum of 33-inch or taller (35" tall for wheelbase longer than 105”) will help work around all those differential-grabbing rocks. Taller tires also involve having an adequate suspension lift to accommodate full articulation and steering degree of the larger tires.

Unless you don’t mind body damage, you need some side protection, not only for the occasional slip off of a rock, but also for recovery purposes. The factory Rubicon rocker guards are barely sufficient, but they are better than cheap aftermarket “side armor” aka “mall crawler steps.”

We recommend a minimum crawl ratio of 55:1 for automatics and 65:1 for manual transmissions. You will find the constant slow rock crawling of the Rubicon trail much more enjoyable with a vehicle that is geared properly for it. With an automatic transmission, one can compensate for higher gearing with some good left-foot braking, but this gets tiring after all day (or three or more days) of crawling over rocks. With a manual JK, you and your clutch are going to work extra hard without at least a 65:1 crawl ratio. Many people try to compensate for shallow gearing by overusing the clutch—a burnt up clutch is the last thing you want to have on the Rubicon Trail. You can accomplish low gearing with either the transfer case gears (like the factory 4:1 Rubicon t-case), so that your rig only crawls when in low range; or with axle gears, which give you more torque at the wheels all the time.
You can see why good articulation, good tires, axle lock and armor are highly recommended. If you are worried about scratching anything on your Jeep, this is not the trail for you. Even careful and skilled drivers in a well-built rig will scar some armor here or there.
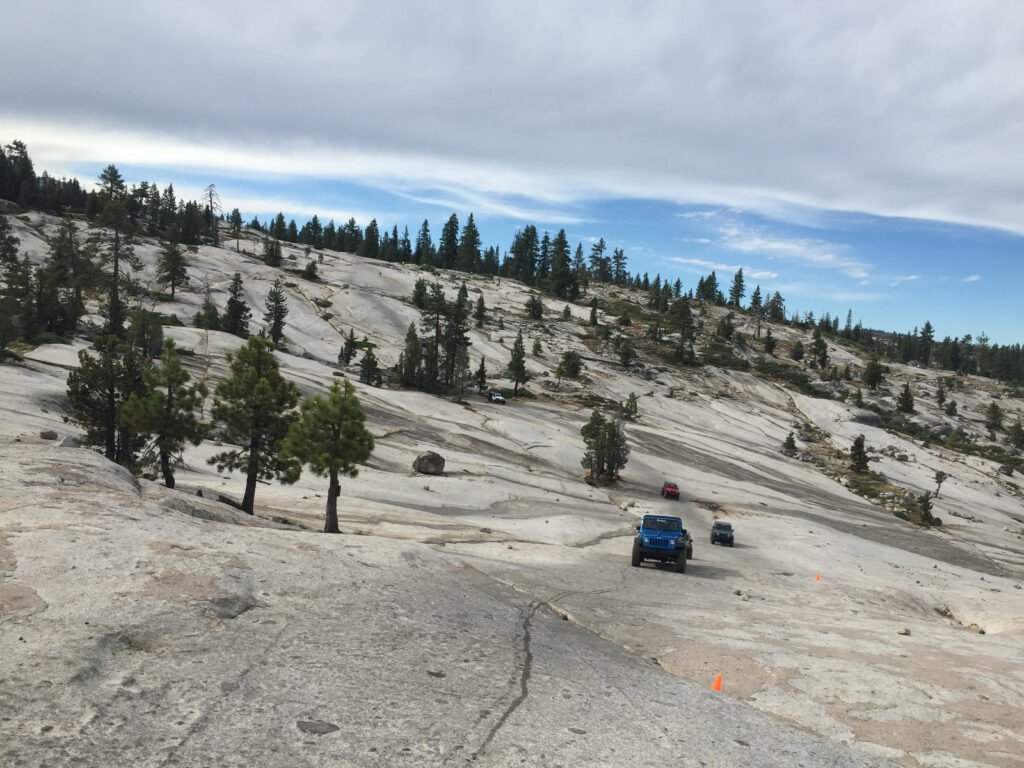
Granite Bowl is the iconic scene in the first mile of the trail.
One of the most commonly smashed/broken components of the Jeep Wrangler is the lower front control arm mount. Adding a lower control arm skid is an inexpensive way to eliminate the problem. Parts are less than $50 and pay a professional 4x4 welder an hour’s time to install them.
Broke on the trail means everyone else on the trail waits until the broke rig is mobile again. Usually, it’s an opportunity to make new friends, especially if you have a venerable J10!
We recommend a minimum crawl ratio of 55:1 for automatics and 65:1 for manual transmissions. You will find the constant slow rock crawling of the Rubicon trail much more enjoyable with a vehicle that is geared properly for it. With an automatic transmission, one can compensate for higher gearing with some good left-foot braking, but this gets tiring after all day (or three or more days) of crawling over rocks. With a manual JK, you and your clutch are going to work extra hard without at least a 65:1 crawl ratio. Many people try to compensate for shallow gearing by overusing the clutch—a burnt up clutch is the last thing you want to have on the Rubicon Trail. You can accomplish low gearing with either the transfer case gears (like the factory 4:1 Rubicon t-case), so that your rig only crawls when in low range; or with axle gears, which give you more torque at the wheels all the time.
Unless you don’t mind body damage, you need some side protection, not only for the occasional slip off of a rock, but also for recovery purposes. The factory Rubicon rocker guards are barely sufficient, but they are better than cheap aftermarket “side armor” aka “mall crawler steps.”
Your tire sidewalls and wheels will get “scrubbed” throughout the trail. Three-ply sidewalls with healthy tread are a must, as is a full-size working spare. A minimum of 33-inch or taller (35" tall for wheelbase longer than 105”) will help work around all those differential-grabbing rocks. Taller tires also involve having an adequate suspension lift to accommodate full articulation and steering degree of the larger tires.